

In this example we show how to connect multiple Wemos shields together to form more complex projects, in this example I use 4 shields. You can see a list of the shields and modules used below
Wemos Dual Base shield – a basic shield for connecting other shields and modules

Wemos D1 Mini : the basic ESP8266 module – there are 3 variants of this board

Wemos OLED shield : a 64×48 I2C OLED display which can display a few lines of text

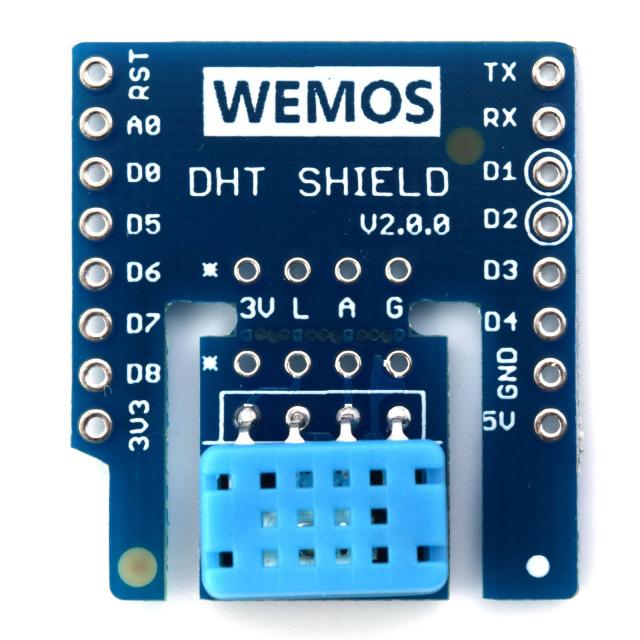
Wemos DHT shield : a digital temperature and humidity sensor based on the DHT12 sensor
Code
2 libraries needed for this example
https://github.com/mcauser/Adafruit_SSD1306/tree/esp8266-64×48
https://github.com/wemos/WEMOS_DHT12_Arduino_Library
[codesyntax lang=”cpp”]
#include <Wire.h>
#include <Adafruit_GFX.h>
#include <Adafruit_SSD1306.h>
#include <WEMOS_DHT12.h>

#define OLED_RESET 0  // GPIO0
Adafruit_SSD1306 display(OLED_RESET);

DHT12 dht12;

void setup()
{
  display.begin(SSD1306_SWITCHCAPVCC, 0x3C);
}

void loop() {

  // Clear the buffer.
  display.clearDisplay();
  display.setTextSize(1);
  display.setCursor(0, 0);
  display.setTextColor(WHITE);

  if(dht12.get()==0){
    display.println("T: ");
    display.println(dht12.cTemp);
    display.println("H: ");
    display.println(dht12.humidity);
  }
  else
  {
    display.println("Error!");
  }
  display.display();
  delay(1000);

}
[/codesyntax]
Run this example and you will see the temperature and humidity displayed on the OLED display
Links
OLED Shield for WeMos D1 mini 0.66″ inch 64X48 IIC I2C for Compatible
Double Socket Dual Base Shield For WeMos D1 Mini NodeMCU For Arduino ESP8266 Development Board
WEMOS D1 Mini Pro – 16M Bytes External Antenna Connector ESP8266 WIFI IoT Board