

In this example we show you how to connect the L3GD20 to an Intel Galileo
The L3GD20 is a low-power three-axis angular rate sensor.
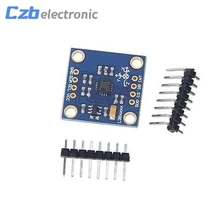
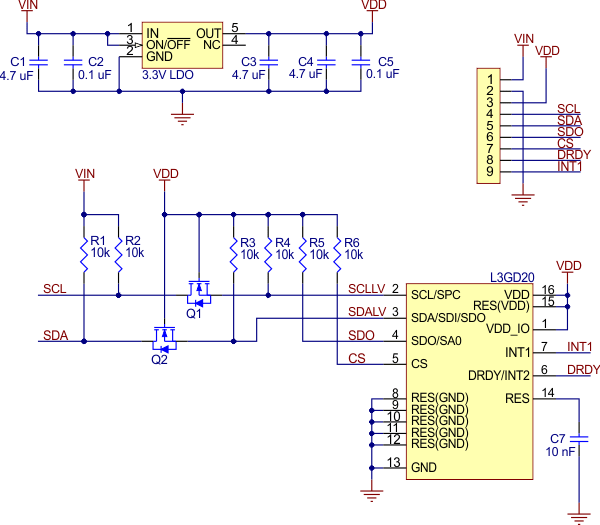
It includes a sensing element and an IC interface capable of providing the measured angular rate to the external world through a digital interface (I2C/SPI).
The sensing element is manufactured using a dedicated micro-machining process developed by STMicroelectronics to produce inertial sensors and actuators on silicon wafers.
The IC interface is manufactured using a CMOS process that allows a high level of integration to design a dedicated circuit which is trimmed to better match the sensing element characteristics. The L3GD20 has a full scale of ±250/±500/ ±2000 dps and is capable of measuring rates with a user-selectable bandwidth.
The L3GD20 is available in a plastic land grid array (LGA) package and can operate within a temperature range of -40 °C to +85 °C.
Key Features
- Three selectable full scales (250/500/2000 dps)
- I2 C/SPI digital output interface
- 16 bit-rate value data output
- 8-bit temperature data output
- Two digital output lines (interrupt and data ready)
- Integrated low- and high-pass filters with user-selectable bandwidth
- Wide supply voltage: 2.4 V to 3.6 V
- Low voltage-compatible IOs (1.8 V)
- Embedded power-down and sleep mode
- Embedded temperature sensor
- Embedded FIFO
- High shock survivability
- Extended operating temperature range (-40 °C to +85 °C)
Parts List
| Galileo Connection | GY-50 L3GD20 connection |
| 5v | Vcc |
| Gnd | Gnd |
| SDA – Arduino Uno A4 | SDA |
| SCL – Arduino Uno A5 | SCL |
Code
You will need the https://github.com/pololu/l3g-arduino library
[codesyntax lang=”cpp”]
#include <Wire.h>
#include <L3G.h>

L3G gyro;

void setup() {
  Serial.begin(9600);
  Wire.begin();

  if (!gyro.init())
  {
    Serial.println("Failed to autodetect gyro type!");
    while (1);
  }

  gyro.enableDefault();
}

void loop() {
  gyro.read();

  Serial.print("G ");
  Serial.print("X: ");
  Serial.print((int)gyro.g.x);
  Serial.print(" Y: ");
  Serial.print((int)gyro.g.y);
  Serial.print(" Z: ");
  Serial.println((int)gyro.g.z);

  delay(100);
}
[/codesyntax]
Testing
Open the serial monitor and you should see the following
G X: 119 Y: -90 Z: 29
G X: -1116 Y: -1066 Z: -496
G X: -28295 Y: -5078 Z: 355
G X: 13877 Y: 1056 Z: -1249
G X: 8178 Y: -11348 Z: 2852
G X: 16728 Y: -17862 Z: 32704
G X: 1936 Y: -10629 Z: 32704
G X: -5130 Y: -1977 Z: 31167
G X: 1867 Y: -1193 Z: 7020
G X: 6853 Y: 2255 Z: -32768
G X: -8683 Y: 11403 Z: -32768
G X: -16635 Y: 7482 Z: -32768
G X: -3125 Y: 4856 Z: -21510
G X: -22115 Y: 3489 Z: 26402
G X: -7975 Y: -290 Z: 32704
G X: -13255 Y: -242 Z: 24533
G X: -32615 Y: -6629 Z: 32704
Links
L3GD20 3-axis Gyroscope Sensor replace L3G4200D Angular velocity module For Arduino