

In this example we will connect an MCP9808 digital temperature sensor to a Raspberry Pi and use Java to display the temperature readings, there are other languages such as C and python which work as well but I wanted to try something a little different
Here is a recap of the sensor
The MCP9808 digital temperature sensor converts temperatures between -20°C and +100°C to a digital word with ±0.5°C (max.) accuracy. The MCP9808 comes with user-programmable registers that provide flexibility for temperature sensing applications. The registers allow user-selectable settings such as Shutdown or low-power modes and the specification of temperature Event and Critical output boundaries.
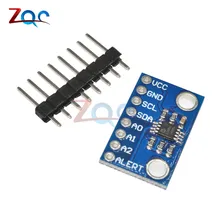
When the temperature changes beyond the specified boundary limits, the MCP9808 outputs an Event signal. The user has the option of setting the event output signal polarity as an active-low or active-high comparator output for thermostat operation, or as temperature event interrupt output for microprocessor-based systems.
The event output can also be configured as a Critical temperature output. This sensor has an industry standard 2-wire, SMBus and Standard I2C™Compatible compatible (100kHz/400kHz bus clock) serial interface, allowing up to eight sensors to be controlled in a single serial bus. These features make the MCP9808 ideal for sophisticated multi-zone temperature- monitoring applications.
You can read more – http://www.microchip.com/wwwproducts/en/en556182
Parts List
| Label | Part Type | Properties |
|---|---|---|
| Part1 | MCP9808 High Accuracy I2C Temperature Sensor | variant variant 1; part # 1782 |
| Raspberry Pi1 | Raspberry Pi 2 | revision RPI-2-V1.1; variant Raspberry Pi 2; processor Broadcom BCM2836 ARMv7 |
Layout
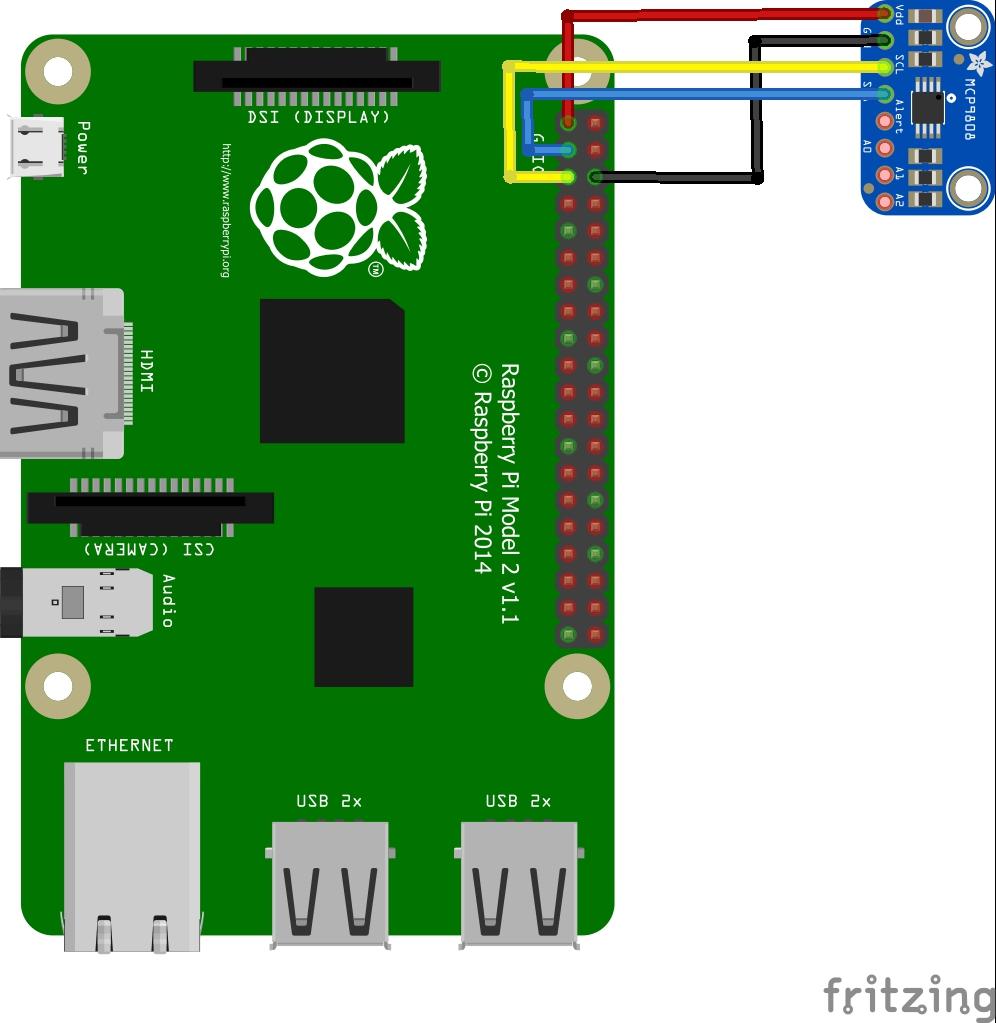
pi and mcp9808
Code
This time we explore the world of Java on the Raspberry Pi
First you need to install PI4j – http://pi4j.com/install.html . I’ll sum it up as its easy to install from a terminal
The simplest method to install Pi4J on your RaspberryPi is to execute the following command directly on your RaspberryPi.
curl -s get.pi4j.com | sudo bash
Now for the java code – this is courtesy of a controleverything example
[codesyntax lang=”java”]
// Distributed with a free-will license.
// Use it any way you want, profit or free, provided it fits in the licenses of its associated works.
// MCP9808
// This code is designed to work with the MCP9808_I2CS I2C Mini Module available from ControlEverything.com.
// https://www.controleverything.com/content/Temperature?sku=MCP9808_I2CS#tabs-0-product_tabset-2

import com.pi4j.io.i2c.I2CBus;
import com.pi4j.io.i2c.I2CDevice;
import com.pi4j.io.i2c.I2CFactory;
import java.io.IOException;

public class MCP9808
{
	public static void main(String args[]) throws Exception
	{
		// Create I2C bus
		I2CBus Bus = I2CFactory.getInstance(I2CBus.BUS_1);
		// Get I2C device, MCP9808 I2C address is 0x18(24)
		I2CDevice device = Bus.getDevice(0x18);
		Thread.sleep(300);

		// Select configuration register
		// Continuous conversion mode, Power-up default
		byte[] config = new byte[2];
		config[0] = 0x00;
		config[1] = 0x00;
		device.write(0x01, config, 0, 2);
		// Select resolution rgister
		// Resolution = +0.0625 / C
		device.write(0x08, (byte)0x03);
		Thread.sleep(300);

		// Read 2 bytes of data from address 0x05(05)
		// temp msb, temp lsb
		byte[] data = new byte[2];
		device.read(0x05, data, 0, 2);

		// Convert the data to 13-bits
		int temp = ((data[0] & 0x1F) * 256 + (data[1] & 0xFF));
		if(temp > 4095)
		{
			temp -= 8192;
		}
		double cTemp = temp * 0.0625;
		double fTemp = cTemp * 1.8 + 32;

		// Output data to screen
		System.out.printf("Temperature in Celsius is : %.2f C %n", cTemp);
		System.out.printf("Temperature in Fahrenheit is : %.2f F %n", fTemp);
	}
}
[/codesyntax]
Now you have to compile and run the program like this
$> sudo pi4j MCP9808.java
Testing
You should see the following
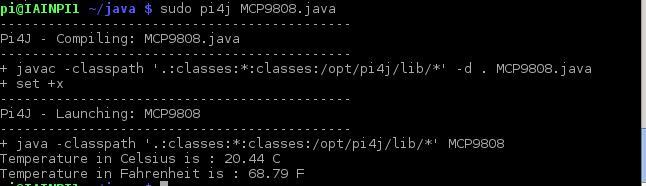
mcp9808 output
Links
MCP9808 High Accuracy I2C IIC Temperature Sensor Breakout Board