

The KY-032 Obstacle avoidance sensor module returns a signal when it detects an object in range. The range of the sensor is around 2-40 cm is distance. The Obstacle Avoidance Sensors usually come in two types – with 3 and 4 pins. The 3 pin version does not have the ability to be enabled/disabled. The 4 pin version has optional Enable pin. Infrared obstacle avoidance sensor is designed to detect obstacles or the difference in reflective services.
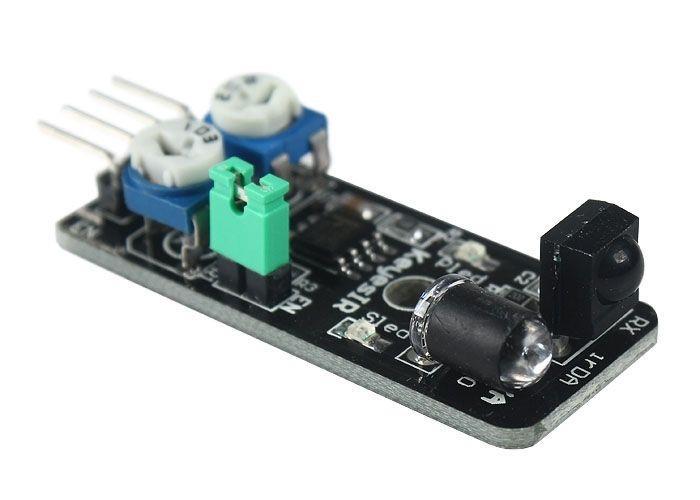
ky032
One application is to help a wheeled robot avoid obstacles with a sensor to react to adjustable distance settings. This device has an infrared transmitter and receiver, that forms the sensor pair. The transmitter LED emits a certain frequency of infrared, which the receiver LED will detect. The receiving LED will detect some of the signal back and will trigger the digital on/off “signal” pin when a specific threshold “distance” has been detected. Most boards will have 2 potentiometers, one of which is to adjust how sensitive the sensor is.
You can use it to adjust the distance from the object at which the sensor detects it. Typically, the other potentiometer, which changes the transmitter IR frequency is not adjusted.
The module detects an obstacle [LED on the module: ON] [Sensor Signal= Digital Off]
This sensor allows you to activate and deactivate the obstacle detection by manipulating the enable pin (EN). It is activated by default which means that the sensor is in detection mode by default.
If you want to manually control the enable then you need to remove the jumper with the label “EN” and put a control signal on the en pin.
Parts List
Connection
This is the connections we used
| KY-032 module | Arduino connection |
| S | D3 |
| V+ | +5V |
| G | GND |
| en | n/c |
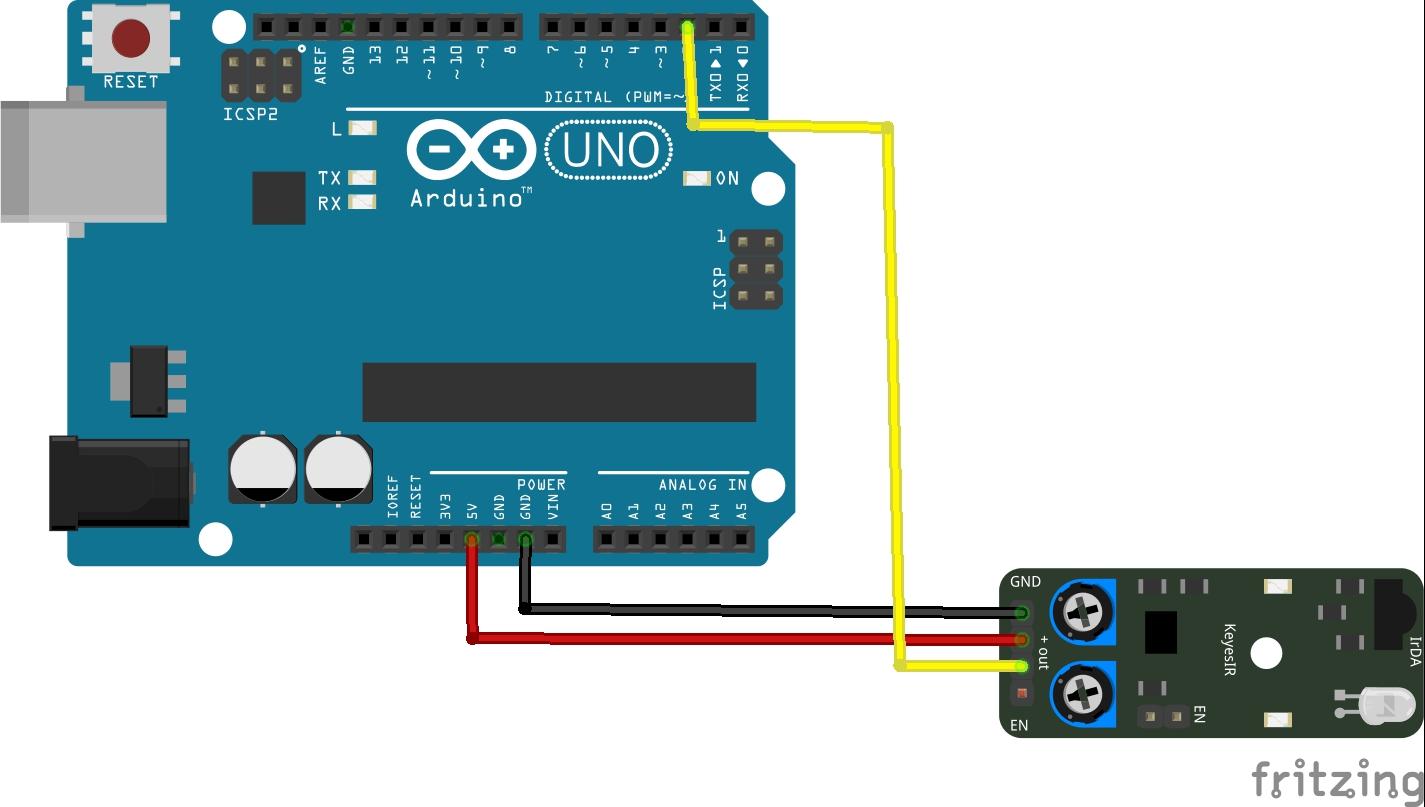
arduino and ky032 layout
Code
[codesyntax lang=”cpp”]
int Sensor = 3; // Declaration of the sensor input pin

void setup ()
{
  Serial.begin(9600); // Initialization serial output
  pinMode (Sensor, INPUT) ; // Initialization sensor pin
}


void loop ()
{
  bool val = digitalRead (Sensor) ;

  if (val == HIGH) // If a signal is detected,
  {
    Serial.println("No obstacle");
  }
  else
  {
    Serial.println("Obstacle detected");
  }
  Serial.println("------------------------------------");
  delay(500); // Break of 500ms
}
[/codesyntax]
Output
Open the serial monitor and point the module at an object
Obstacle detected
————————————
Obstacle detected
————————————
No obstacle
————————————
No obstacle
————————————
Obstacle detected
————————————
Obstacle detected
————————————
No obstacle